Clubsport Carpet

DIY Track Car Interior – Installing a Custom Clubsport Carpet

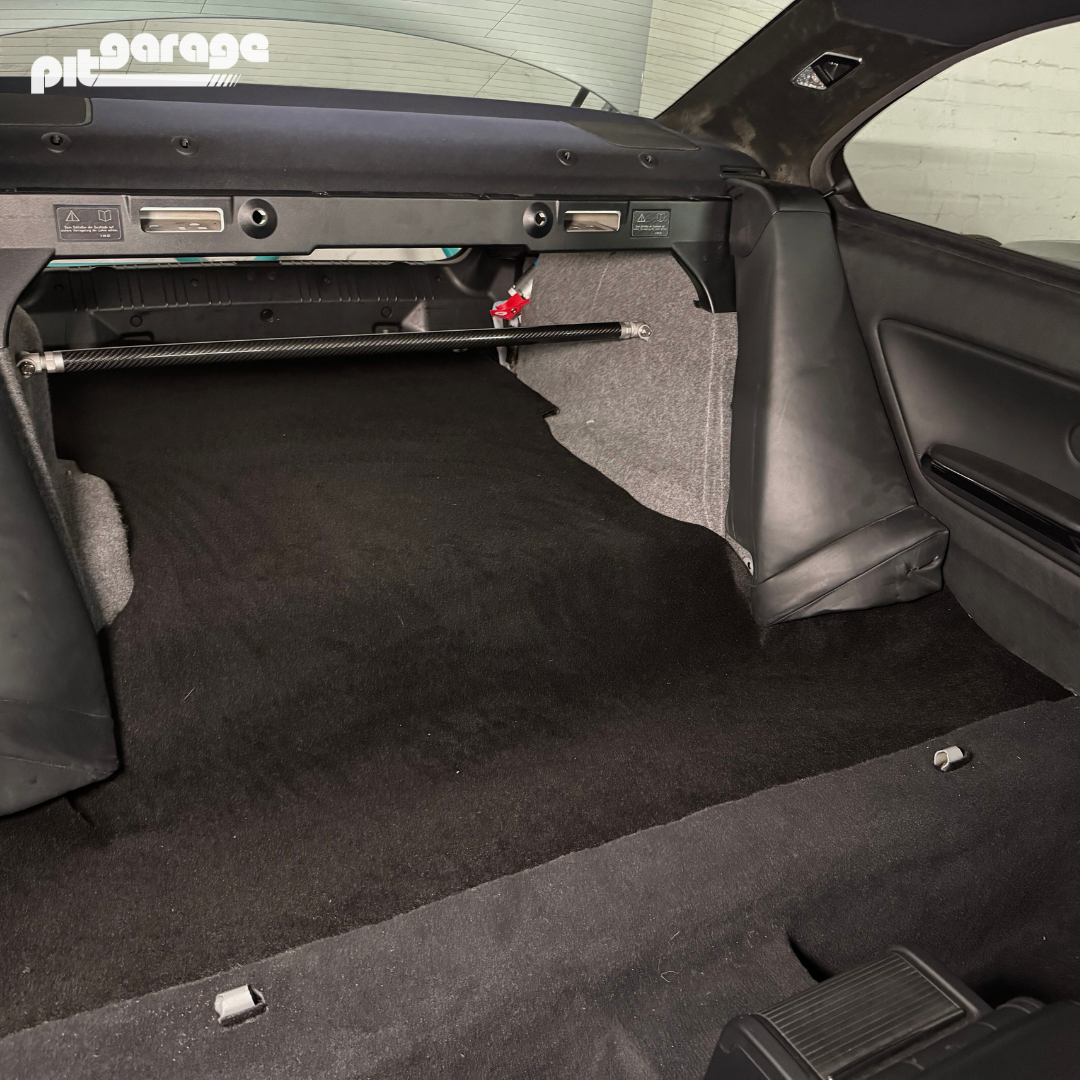
When I removed the rear seats from my E46 M3, I immediately noticed how unfinished the area looked. It was the only part of the interior without carpeting or any kind of trim, making it stand out in a way I didn’t like. Since I’ll eventually strip the entire interior for maximum weight savings, I could have just left it bare. But I prefer a clean and aesthetically pleasing look, even in a track-focused build. So, I decided to create a custom carpet to cover the rear seat area. While I was at it, I also replaced the trunk carpet, which had seen better days. I extended the new carpet seamlessly from the trunk all the way to the rear seat area for a consistent, OEM-like finish.

You can do this yourself easily and affordably with just a few tools and some basic DIY skills.

  1. Choosing the Right Carpet for a DIY Track Car Interior
  2. Creating a Template for Your Clubsport Carpet Install
  3. Cutting the Carpet for a Perfect Fit in Your E46 M3
  4. Final Installation & Adjustments for a Clean DIY Interior Look

Tools / Parts needed

  • Sharp Scissors or Utility Knife
  • Tape Measure
  • Tape 
  • Marker 
  • Thick Paper or Cardboard 
  • Carpet 1,5 m x 2 m (5 ft x 6,5 ft)

1. Choosing the Right Carpet

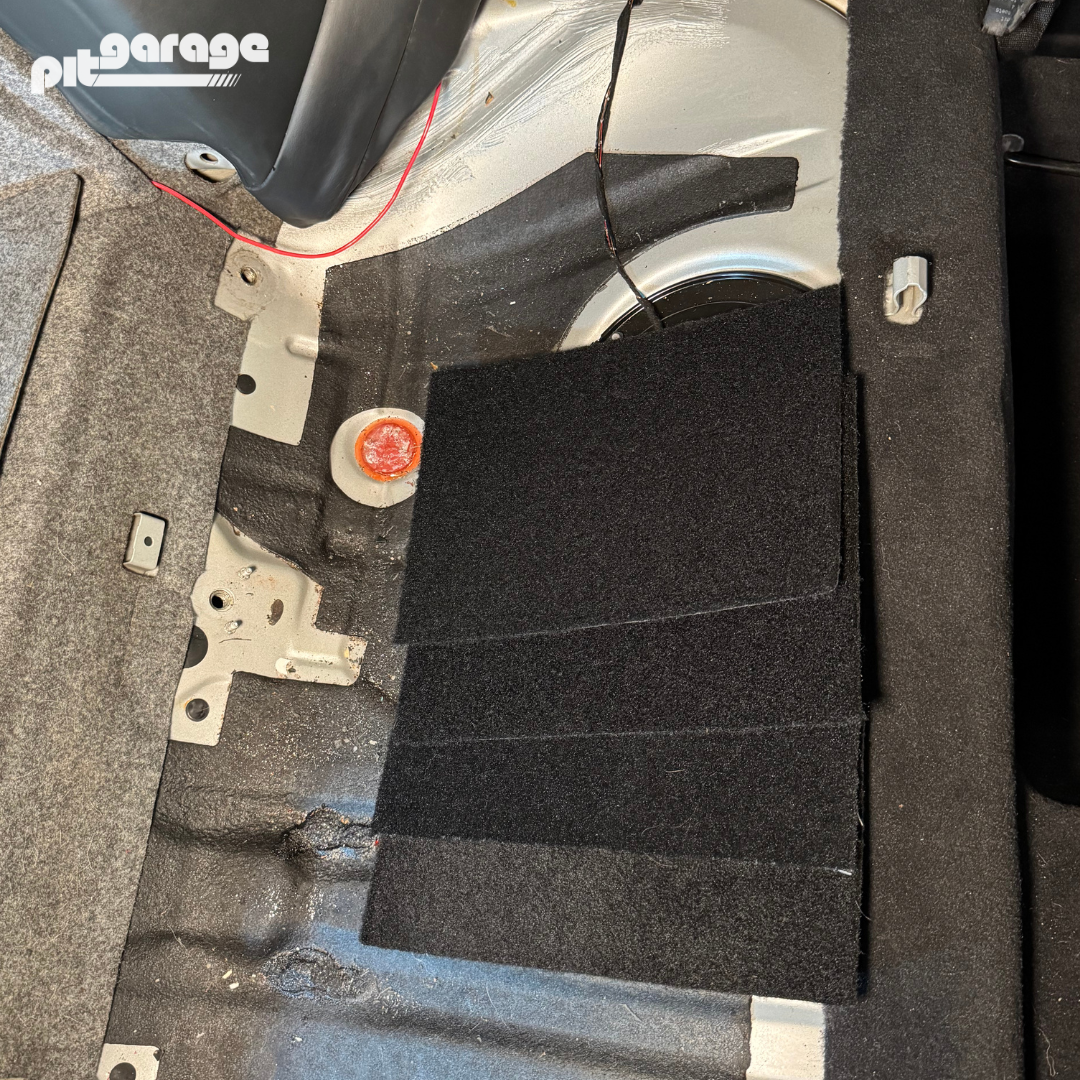
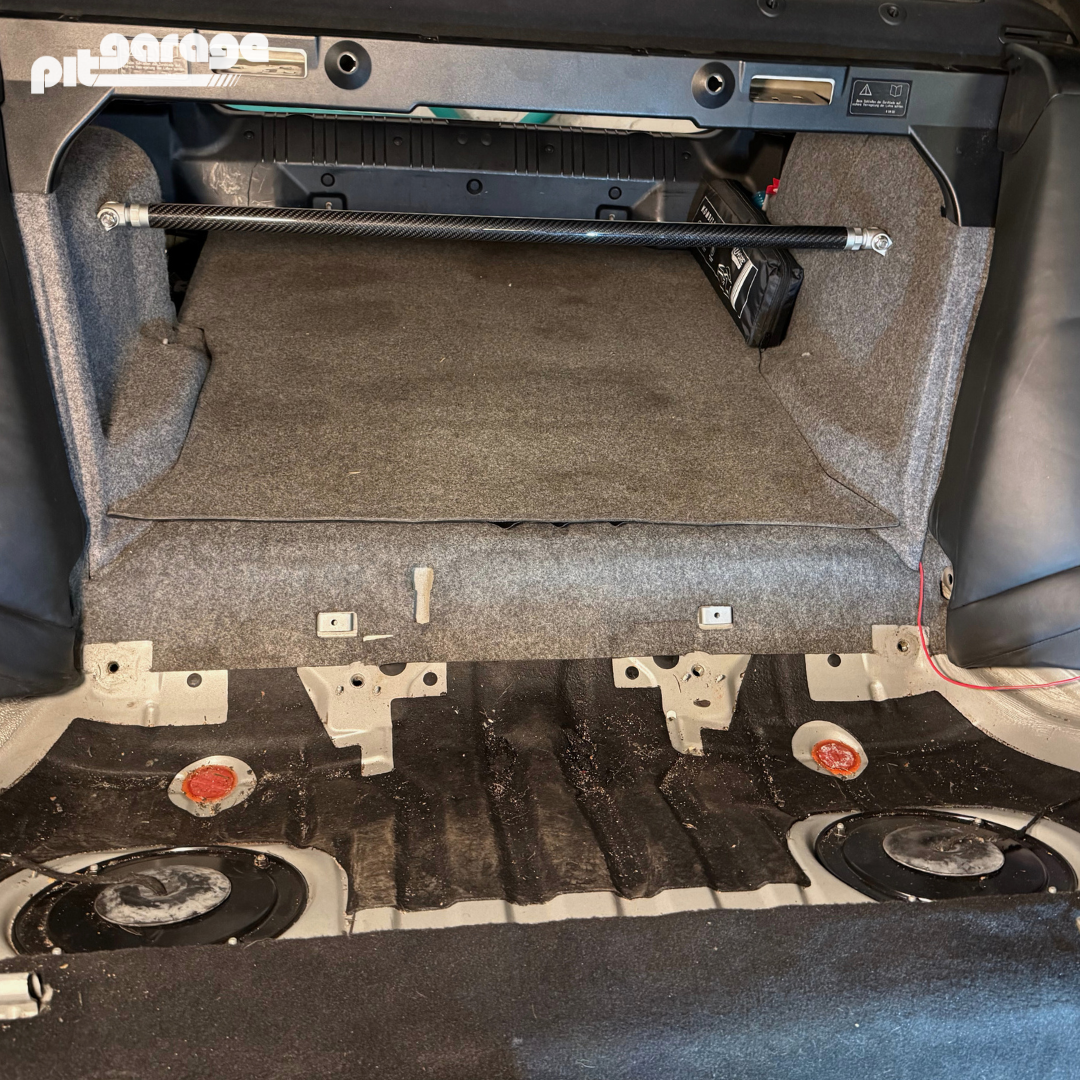
1.1 Initial Situation: After removing the rear seats, the exposed metal surface didn’t look great. Since I prefer a clean and aesthetic look, I decided to cover the area with carpet. The original trunk carpet was also old and worn out, so I chose to extend the new carpet from the trunk all the way to the rear seat area.

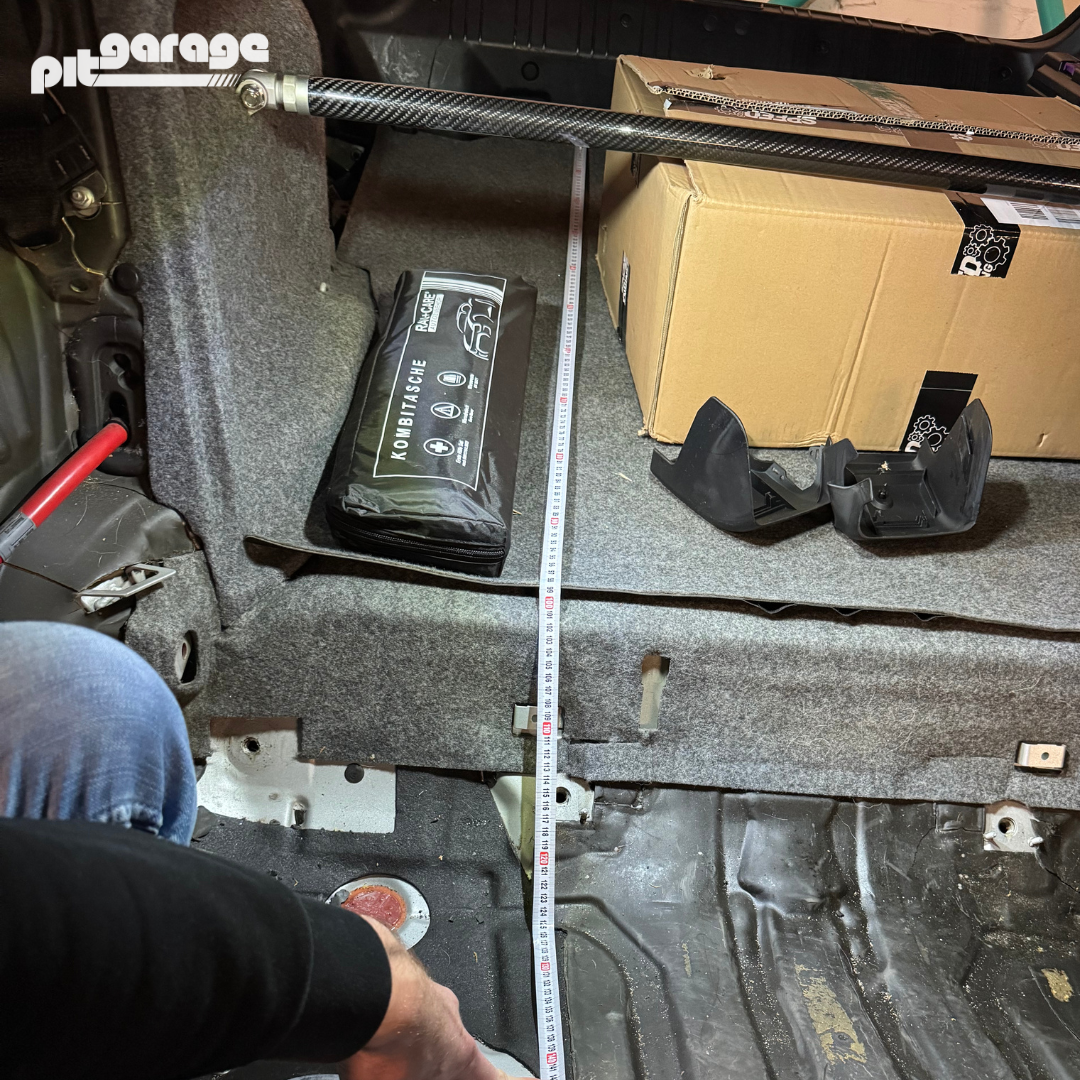
1.2 Measuring the Area: To determine how much carpet was needed, I measured from the trunk edge to the rear seat area and across the width of the rear seat. It’s important to follow the seat’s contours when measuring to avoid inaccurate dimensions. The minimum required carpet size is 1.7 m x 1.4 m (5.58 ft x 4.59 ft).

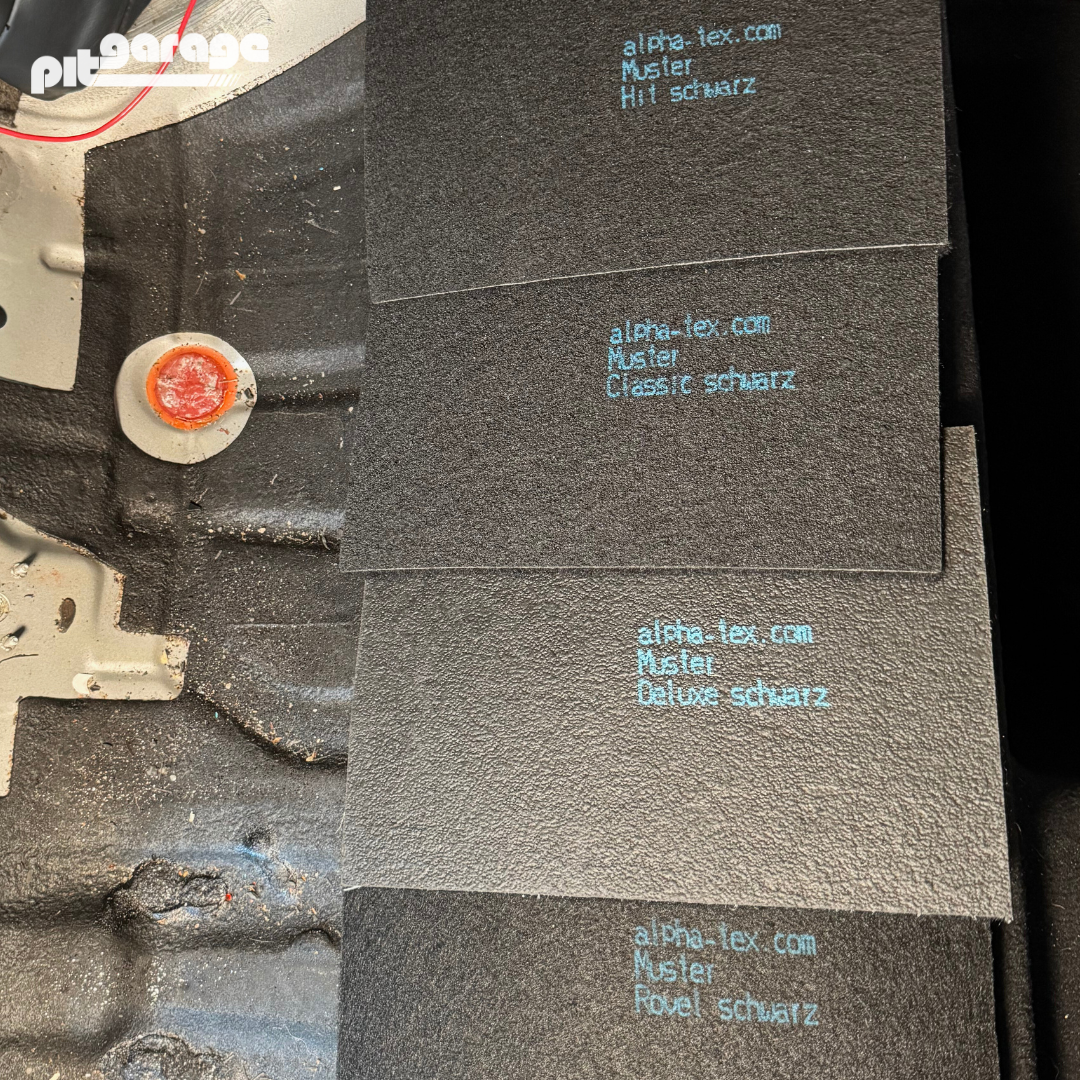
1.3 Ordering Carpet Samples: For the carpet, I searched for suppliers specializing in RV interiors and automotive floor mats, as they often sell materials by the meter (yard). I ordered four samples from Alpha-Tex to compare different textures, colors, and thicknesses.

1.4 Choosing the Right Carpet: After reviewing the samples, I chose “Rovel Black” because it had the best black tone and was the thinnest and lightest option. This makes installation easier and helps keep the weight down while ensuring the carpet conforms well to the car’s interior. I ordered a 1.5 m x 2 m (4.92 ft x 6.56 ft) piece from Alpha-Tex to have some extra material for adjustments.
2. Creating a Template

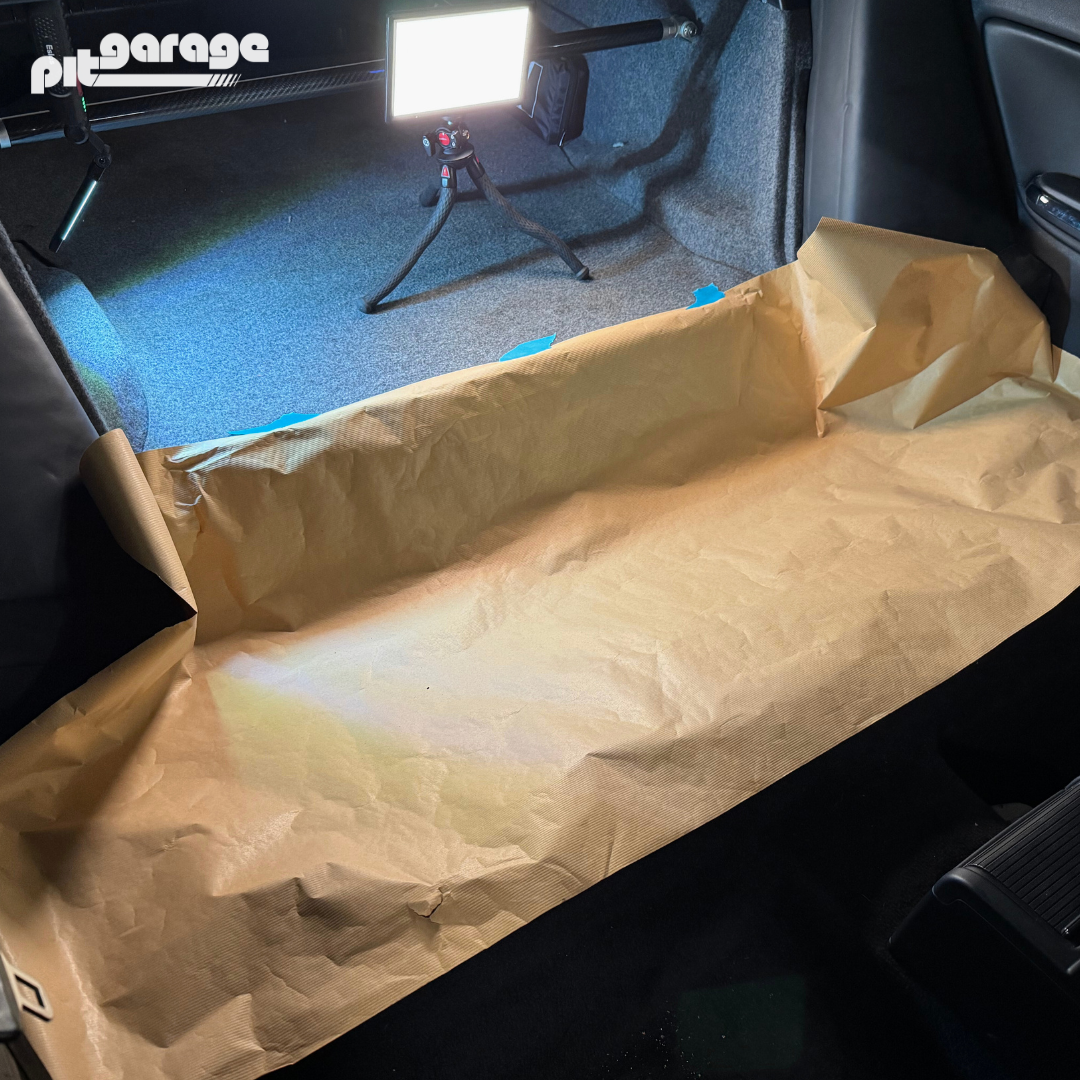
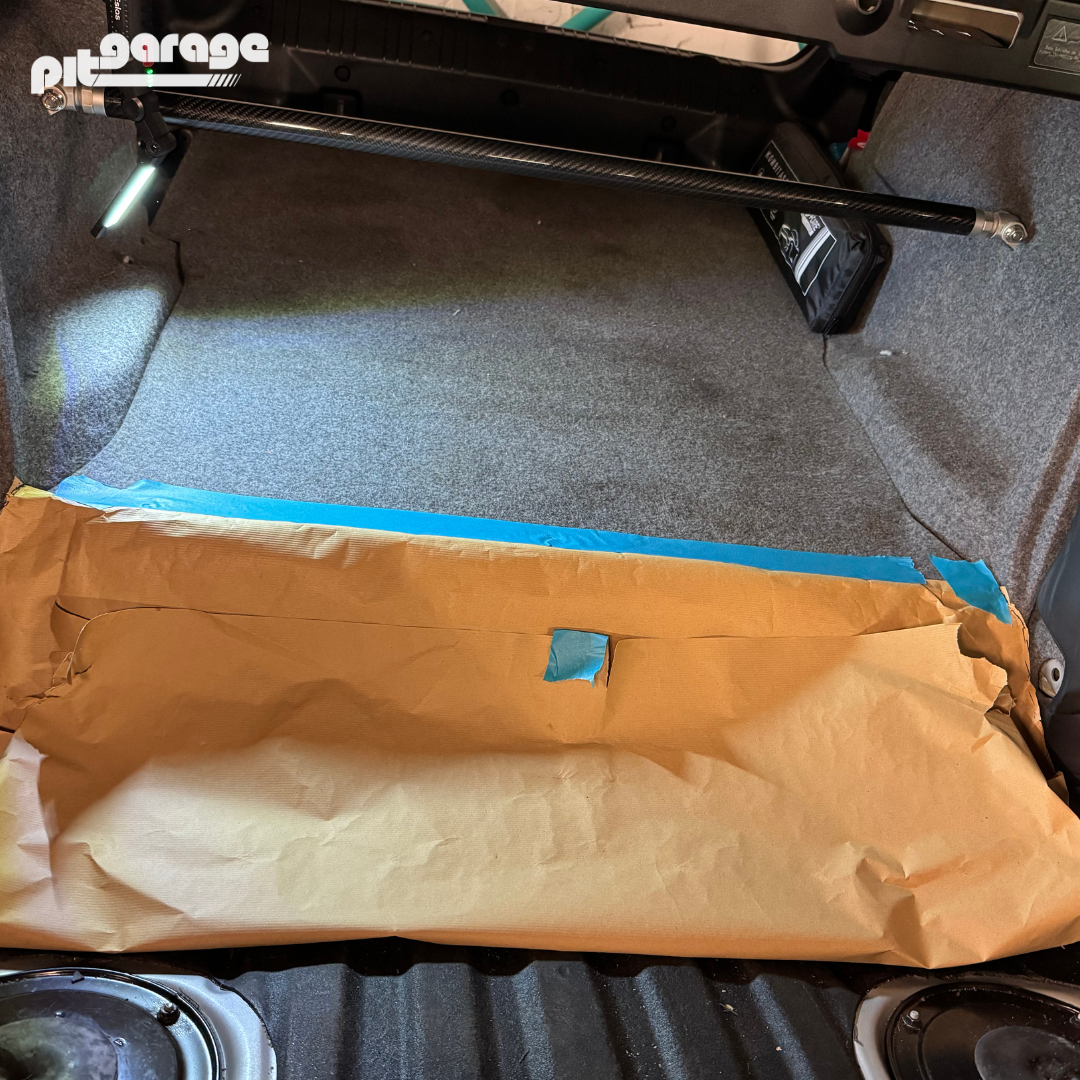
2.1 Preparing the Template Material: To create a precise template, I used thick paper, though cardboard would also work. Paper is more flexible and conforms better to the car’s contours. I roughly cut a piece and secured it with tape to the old trunk carpet for reference.

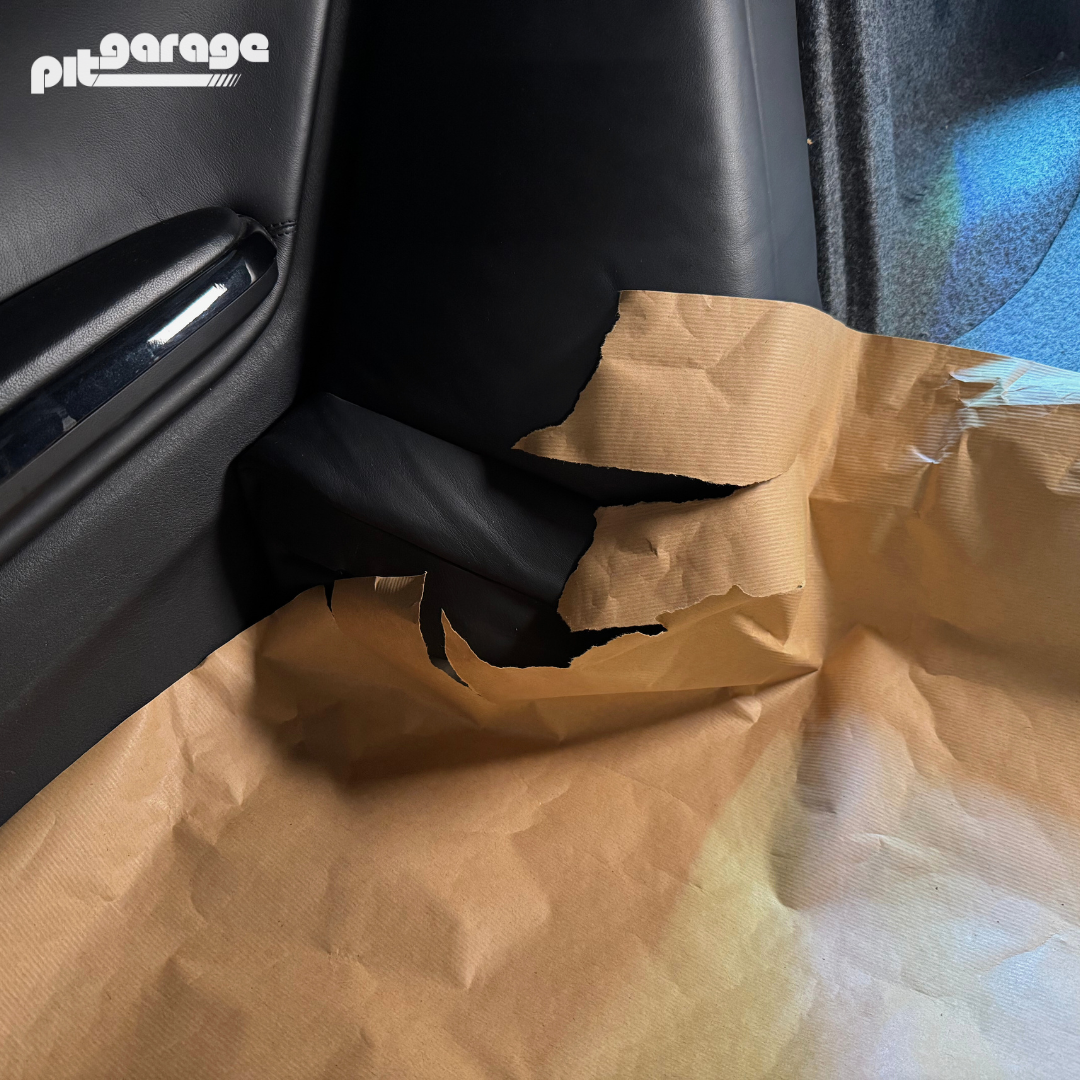
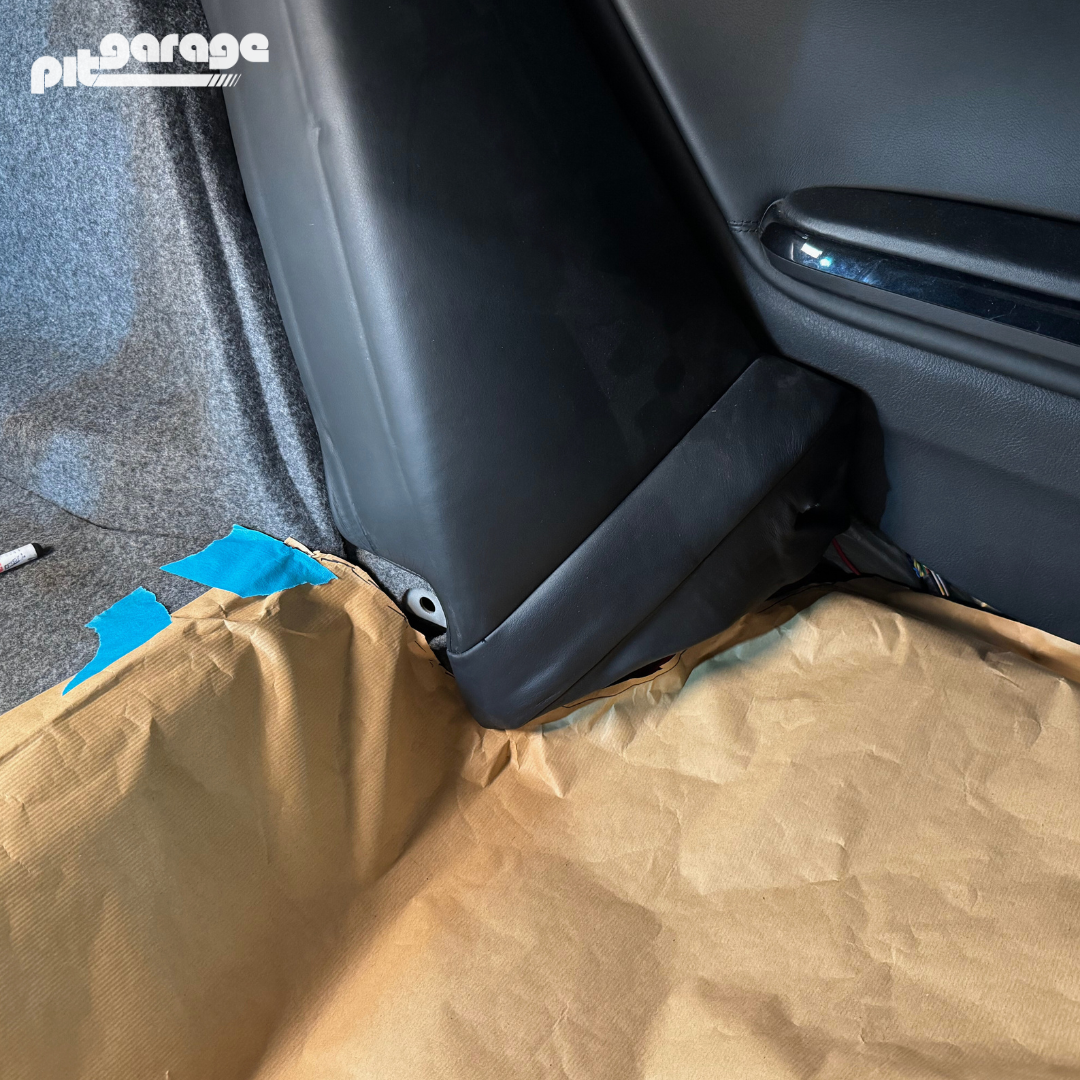
2.2 Shaping the Template: I slowly began pressing the paper into the contours of the rear seat area. To help it mold to curves, I made small cuts along rounded sections, allowing the paper to flex and lay flat.

2.3 Marking and Adjusting: Using a marker, I traced the edges where the carpet would sit and trimmed the paper with scissors. I worked roughly because the final carpet would be tucked under the rear side panels and seat bolsters, so millimeter precision wasn’t necessary.

2.4 Removing the Template: Once the template was fully cut and adjusted, I secured it even more firmly to the old trunk carpet with additional tape. Then, I carefully folded everything together and lifted it out of the car in one piece.

3. Cutting the Carpet

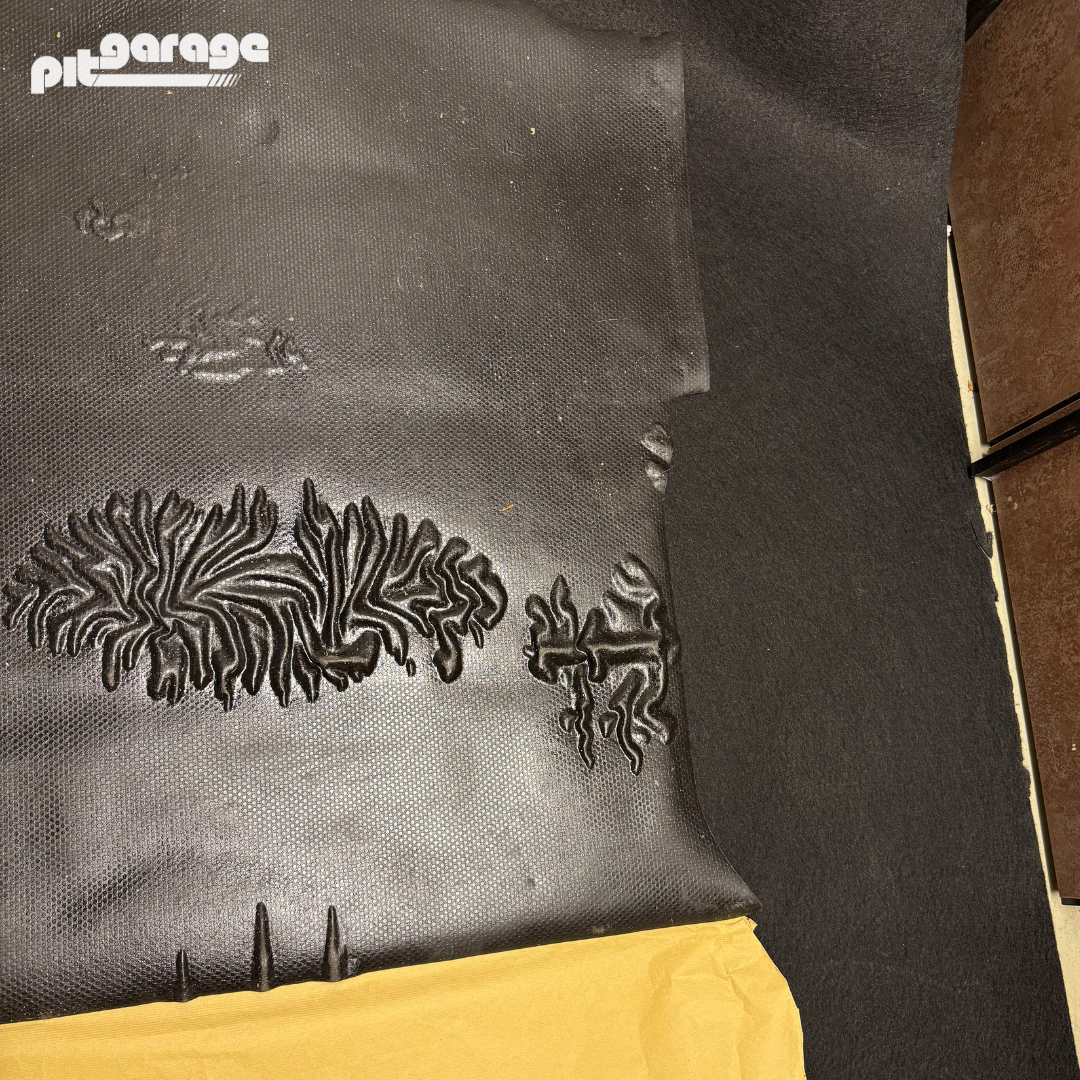
3.1 Positioning the Template: I placed the old trunk carpet and the paper template onto the new carpet, aligning them on the backside. This was necessary because the old carpet had a sticky residue and was quite messy. Additionally, marking the backside made it easier to draw precise lines.

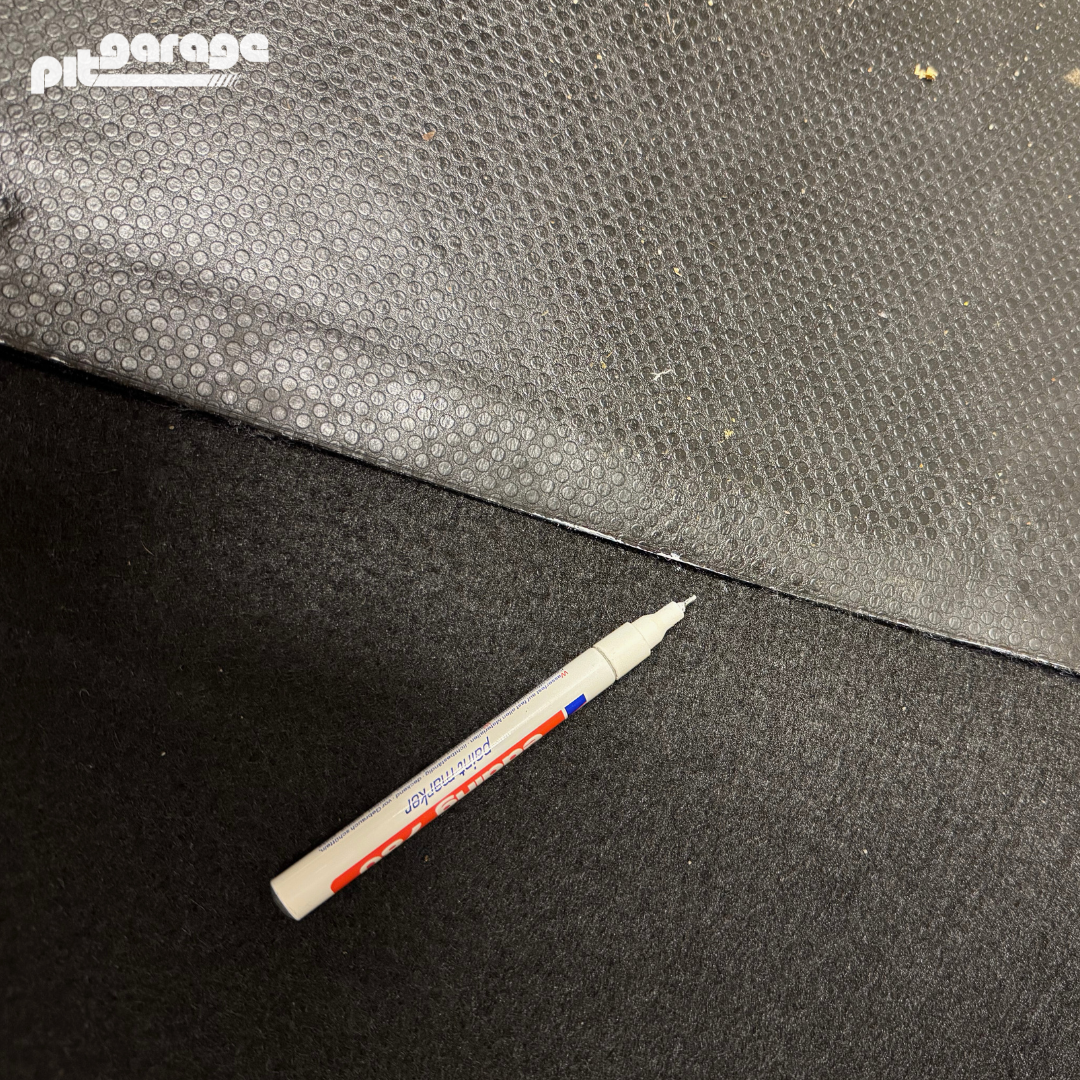
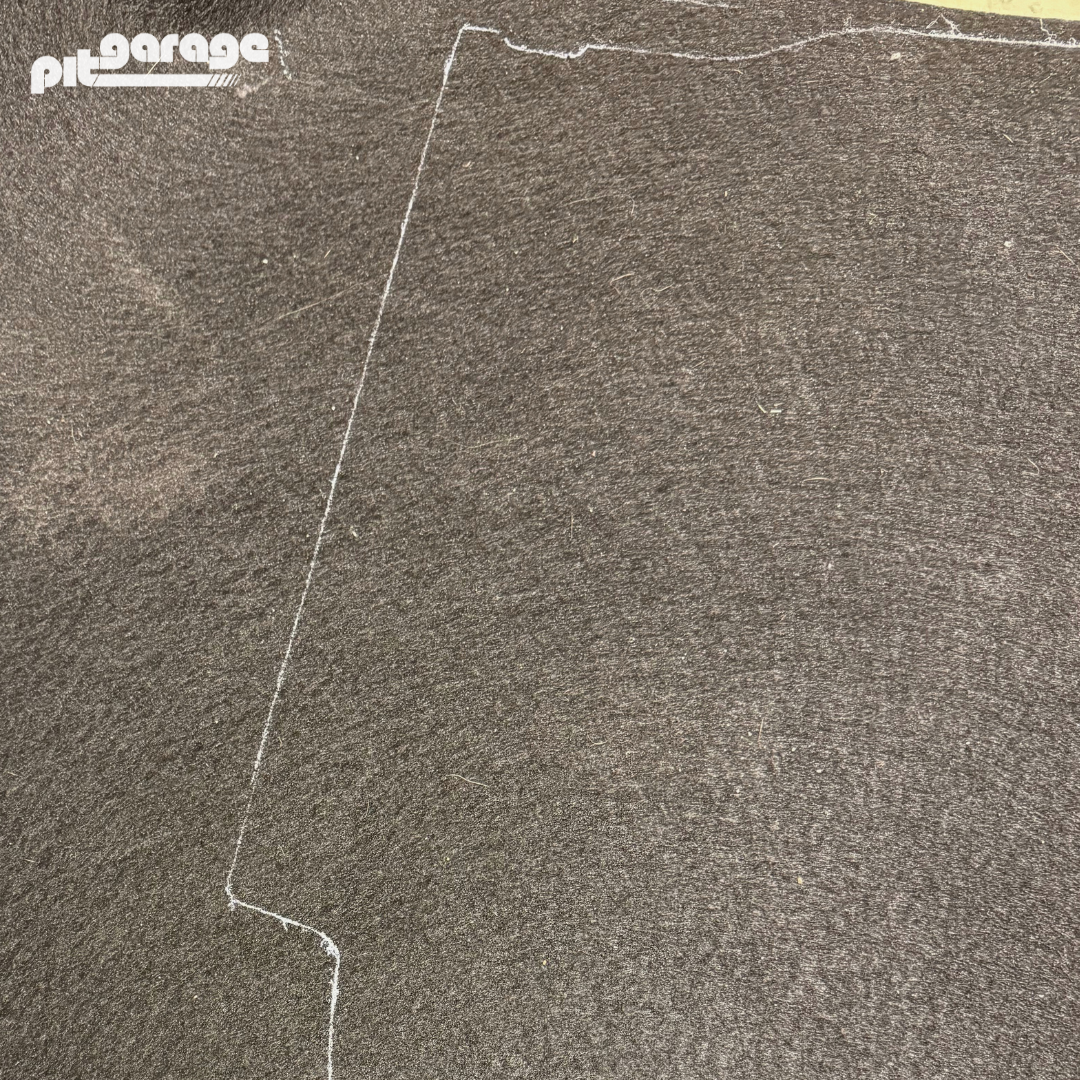
3.2 Tracing the Outline: Using a white permanent marker, I carefully traced the contours. For the trunk section, I followed every detail precisely. For the rear seat area, I left a few extra centimeters (inches) on each side to allow for final adjustments in the car.

3.3 Ensuring Visibility: The white marker created clear, visible lines on the new carpet, making it easy to see the cut lines.

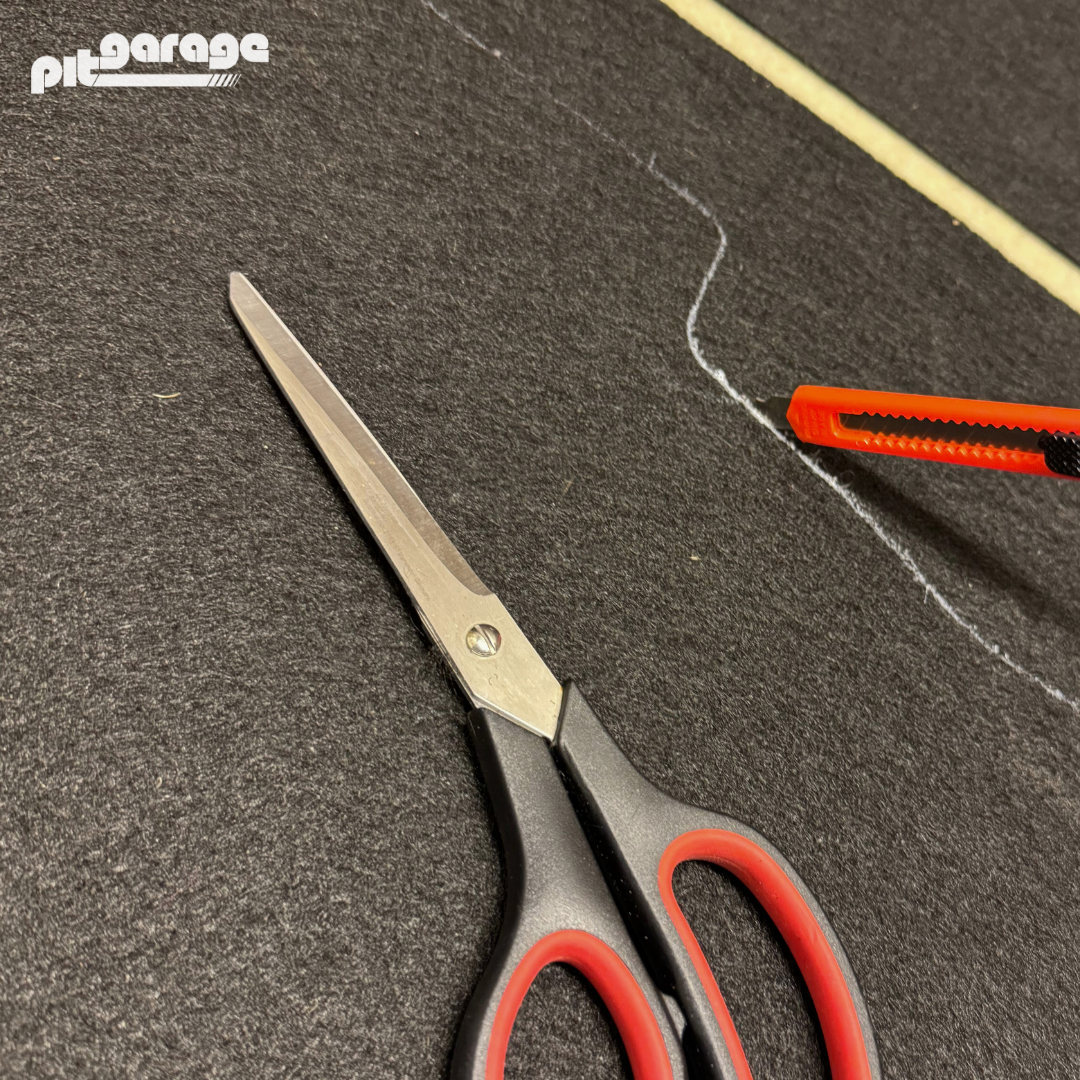
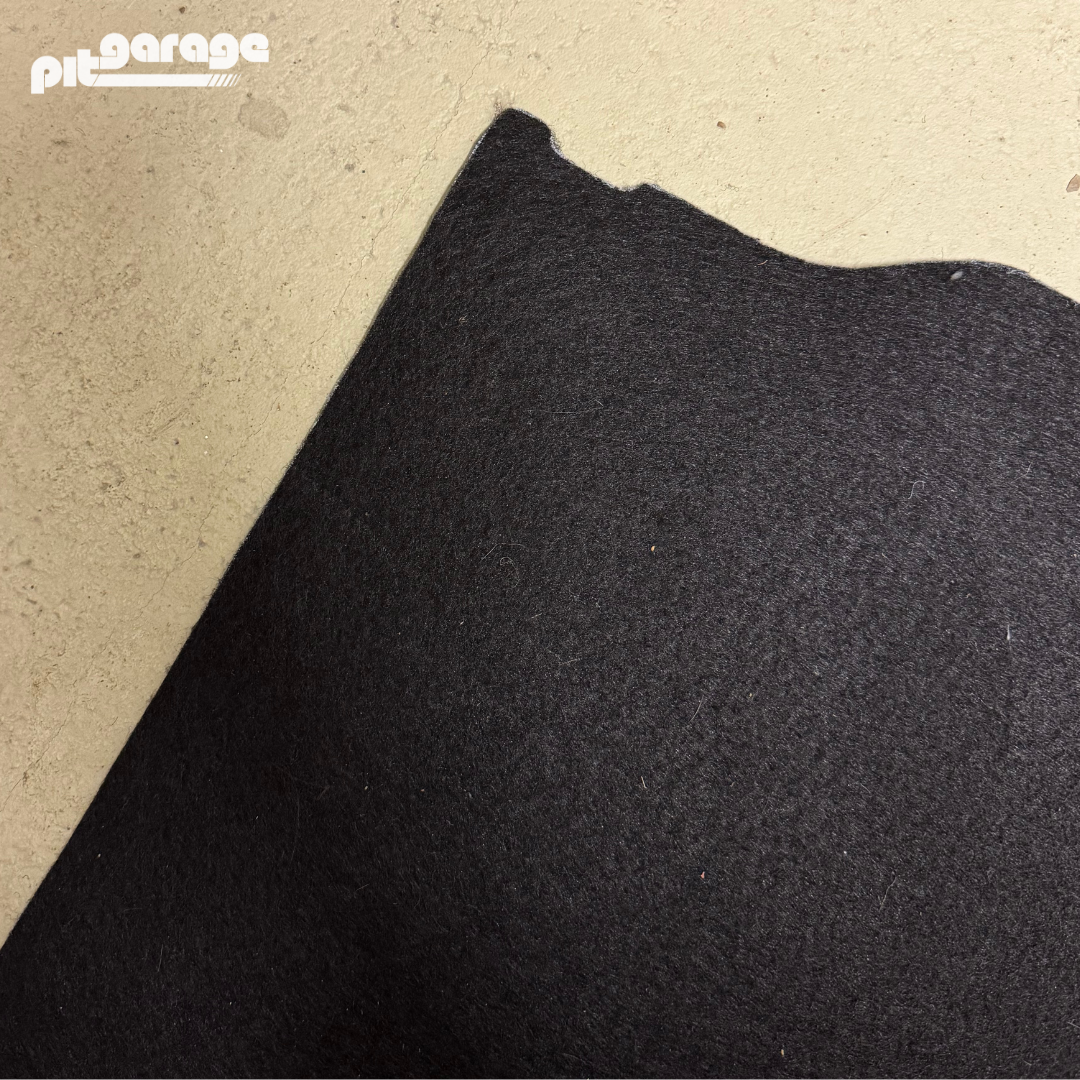
3.4 Cutting the Carpet: I carefully cut along the marked lines. A sharp pair of scissors or a precision utility knife can be used—I opted for the knife and followed the markings meticulously to ensure clean edges.

3.5 Precision Cutting: A sharp blade allowed me to cut the contours with high accuracy, ensuring a professional-looking result.

4. Final Installation & Adjustments

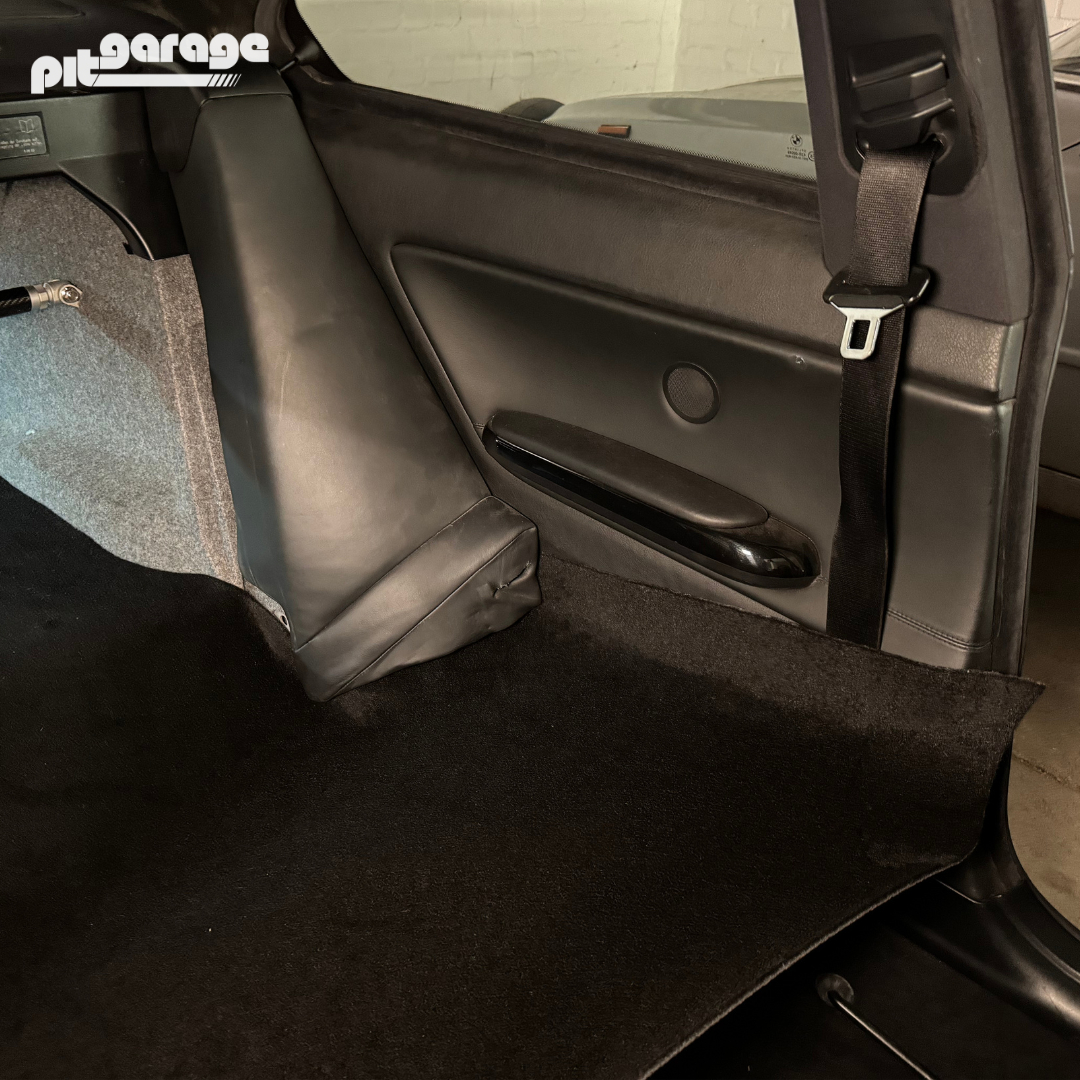
4.1 Positioning the Carpet in the Trunk: I first placed the new carpet in the trunk and aligned it properly. It fit perfectly into the car’s contours, just as planned.

4.2 Adjusting the Excess Material: On the rear seat area, you could see the extra centimeters (inches) I had intentionally left. At this stage, I loosely positioned them and lifted the excess material upward to prepare for trimming.

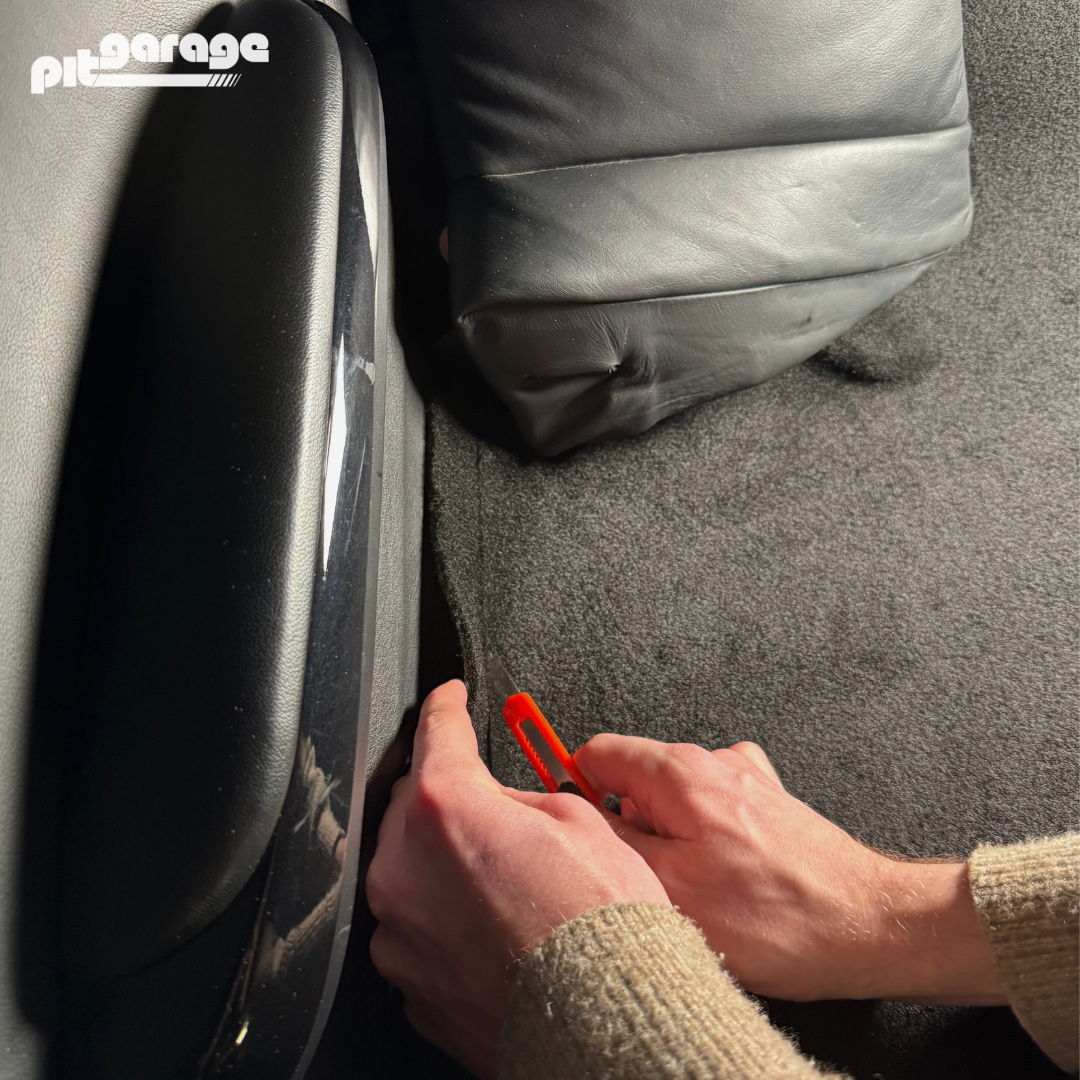
4.3 Trimming for a Clean Fit: I carefully worked my way around the edges, cutting away excess material bit by bit with a sharp knife. I tucked the carpet under the rear side bolsters and the rear side panels, which gave the whole installation a super clean and seamless look.

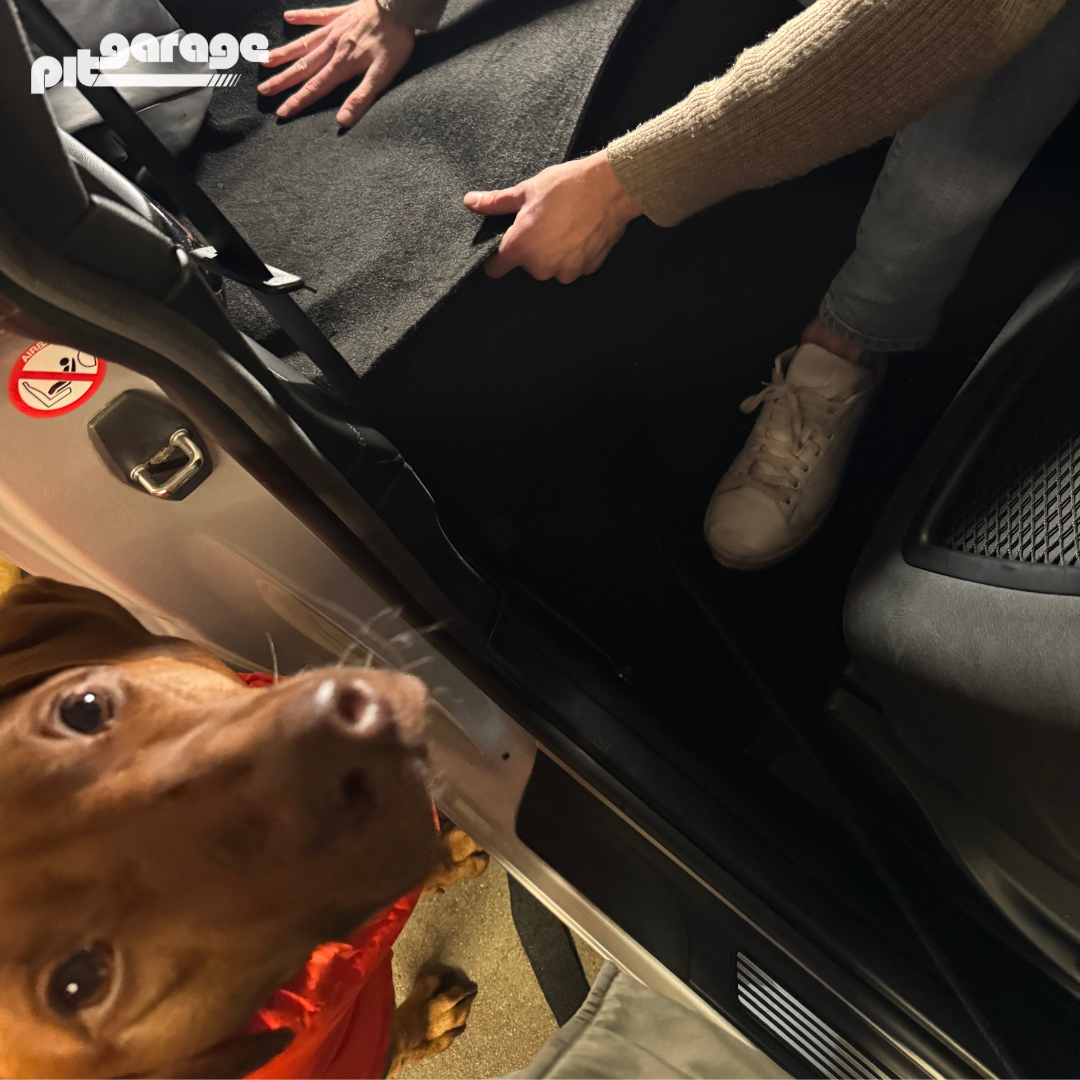
4.4 Quality Control – Dog Approved Of course, my dog had to inspect my work! She’s always there, making sure I’m doing everything right—moral support at its finest. (Although, let’s be honest, she was probably just looking for treats.)

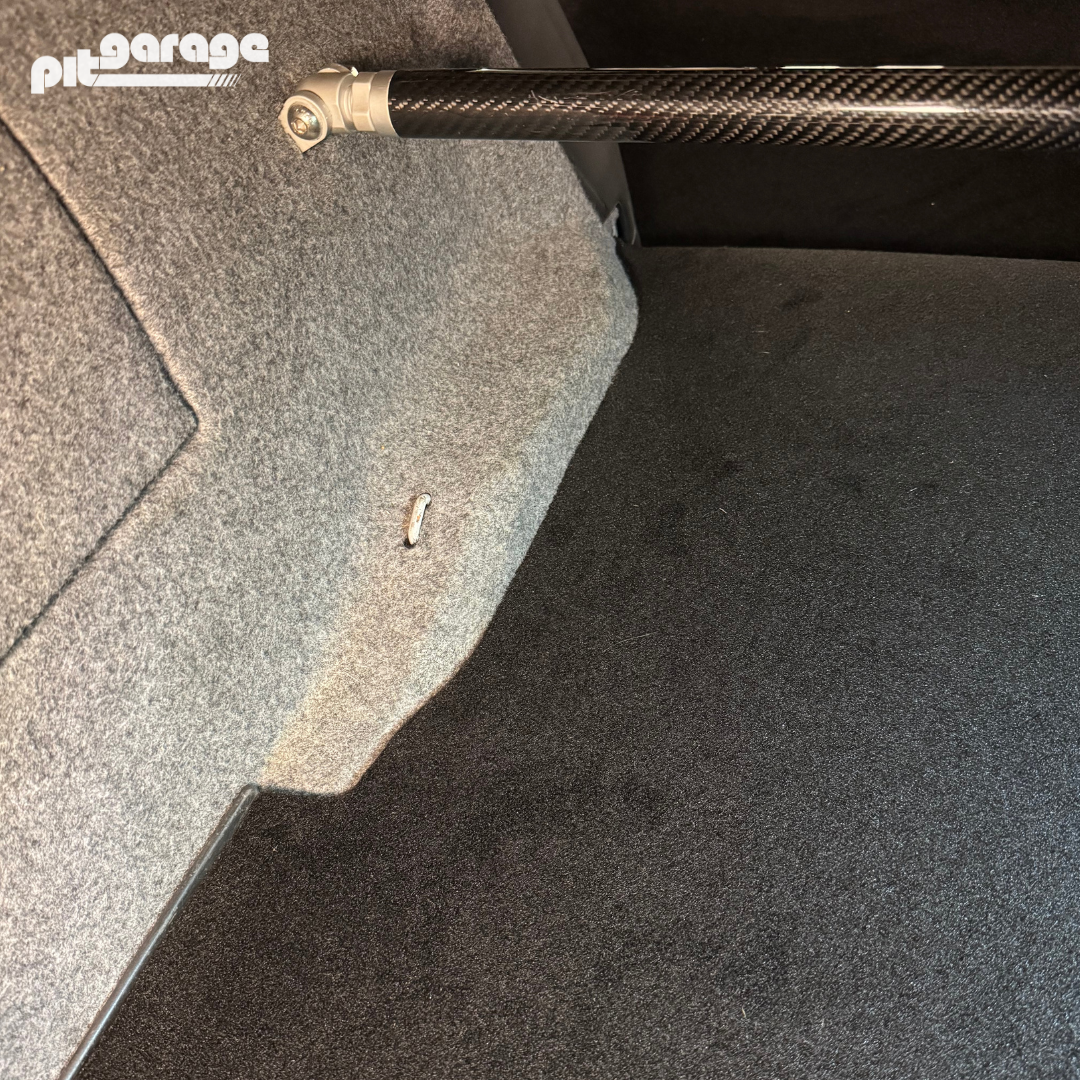
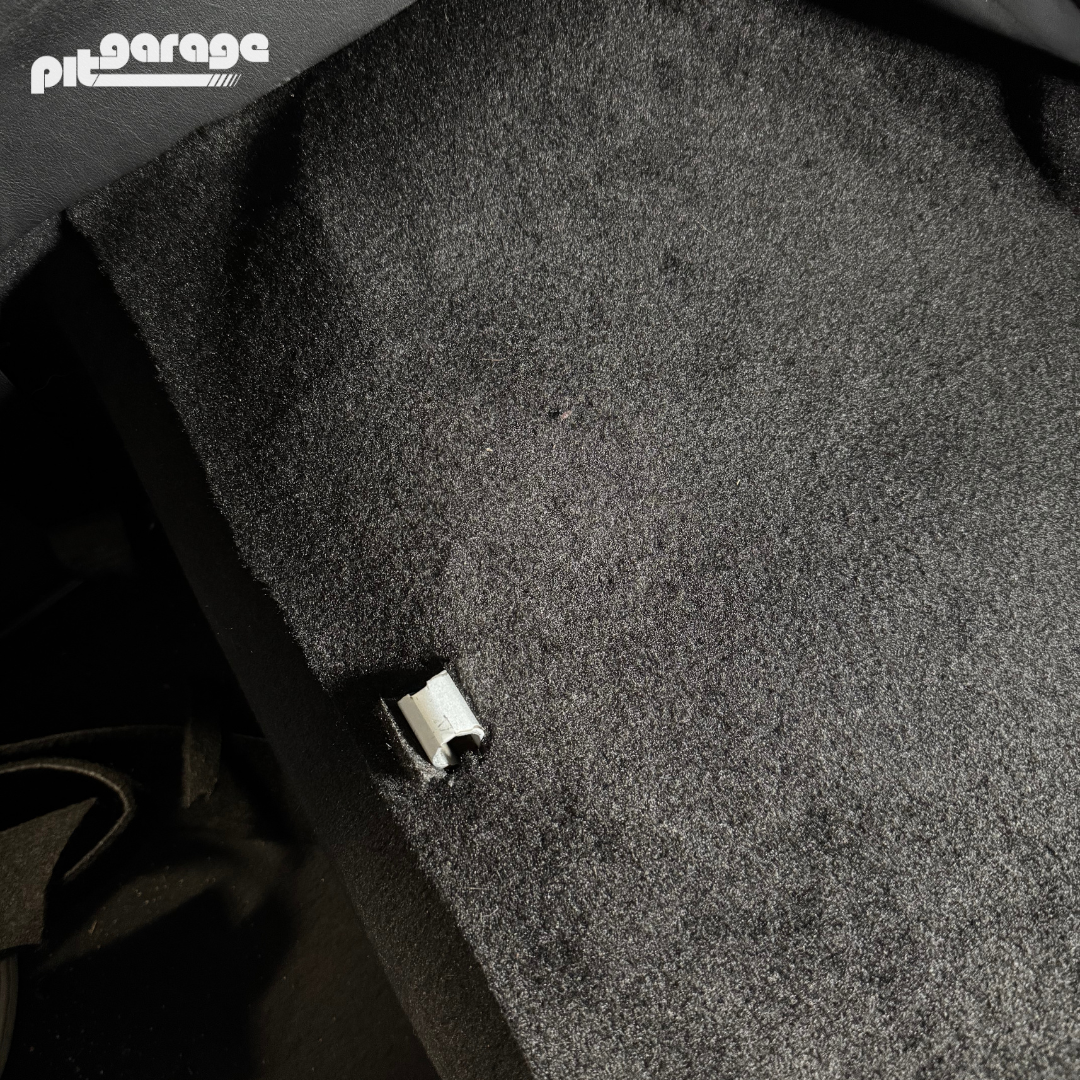
4.5 Cutting for the Seat Brackets: There were still two seat bracket mounts from the old seat cushion at the front of the rear seat area. I made precise cutouts in the carpet to accommodate them.

4.6 Final Adjustment: At this point, you can decide whether to place the new carpet over the section of the original floor carpet that extends up to the rear seats or tuck it underneath. I chose to tuck it under for extra stability and a more factory-like appearance.

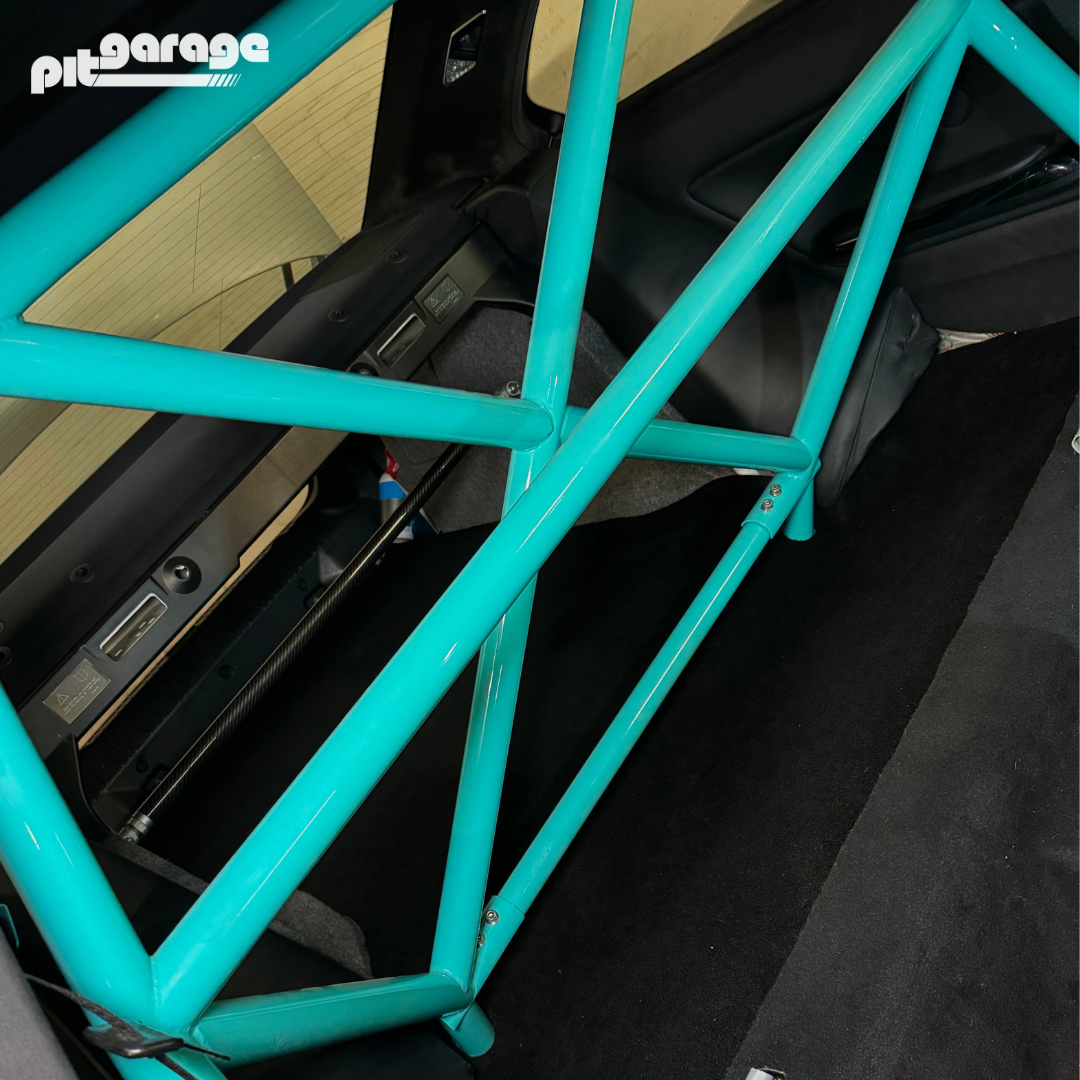
4.7 Final Result: I also installed a roll bar for added safety and to have proper mounting points for the shoulder straps of a future six-point harness.